In this article, you'll learn how to log into DXM and what you need in order to use DXM.
Logging into DXM
Check out the following quick reference guide to learn how to log into DXM and arrange the Content view to open the Info panel.
|
Logging in
|
Configuring the content view
|
|
1. From a web browser, enter your Crownpeak CMS instance URL. It typically follows this convention:
https://cms.crownpeak.net/*name*
 DXM instance URL example DXM instance URL example
2. Enter your username and password and click Log In.
Note: You can located your login information from the email your DXM admin sent you.
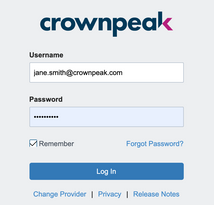 Log in screen Log in screen
|
1. From the left menu, click the Content view edit icon.
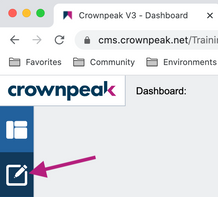 Content view icon Content view icon
The File View appears. The File View contains all of your site content and assets.
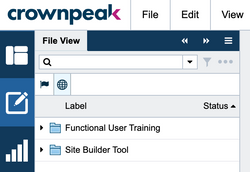 File View File View
|
|
Configuring the content view, cont.
|
|
|
2. To optimize your working space in the Content view, we also recommend opening the Information panel. The Info panel contains details about the assets you select.
Click View > Dockable Panels | Information.
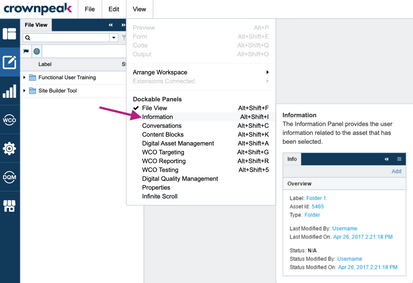 Open Info panel Open Info panel
The Info panel appears next to the File View panel. We recommend moving this panel to the right so that you can view both File View and Info Panels simultaneously as you work with assets.
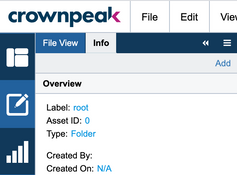 Info panel Info panel
|
3. Hover over the Info panel tab until the hand icon appears. Click and drag the Info panel tab into the area of the screen that appears where you wish to place the panel. In this case, we want to place the panel in the right column.
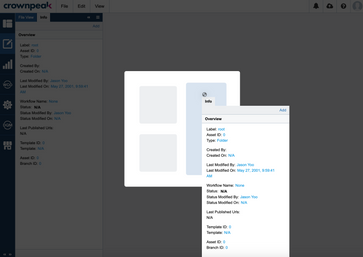 Click and drag Info panel Click and drag Info panel
The Info panel appears to the right of your Content view space. You're now ready to start working with assets.
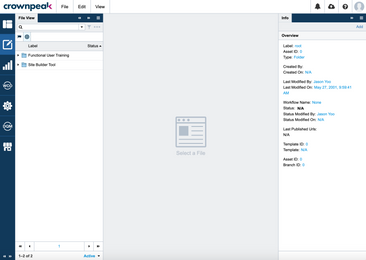 Info panel placed on right side Info panel placed on right side
|
When you first log into DXM, the Dashboard appears by default. The Dashboard is a configurable place for you to easily view the most important tasks and activities on your site.
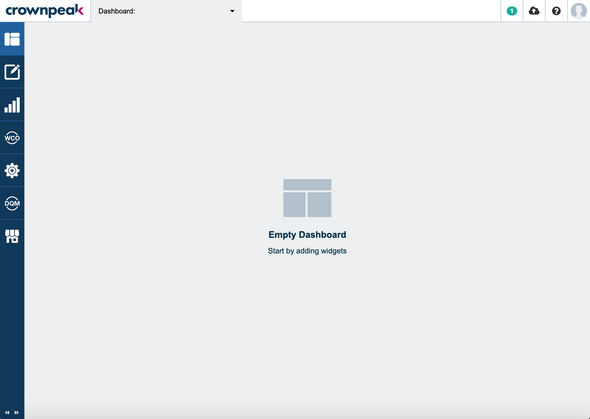 DXM Dashboard
Learn more about setting up DXM for the first time.
Requirements to use DXM
Crownpeak's DXM CMS lives in the cloud, accessible by the following browsers. There is no installation required.
Supported browsers
- Microsoft Edge
- Google Chrome
- Safari
URL access
Every customer has a unique instance URL. For example:
https://cms.crownpeak.net/[customername]/
Support
- If you're a new user, you should use the temporary password received by email and follow the instructions to reset and login.
- If you're a developer, you'll use the same username and password you use today for Desktop Connection.
- If you are not sure about your unique URL or if you encounter any issues, create a support case or contact your customer success manager.


