Setting up DXM for the first time
In this article, you'll learn how to set up your DXM workspace for the first time.
User scenario
You're a brand new DXM user and just logged in. You want to understand how to arrange your workspace in the most efficient way to start adding content.
Arranging your workspace using dockable panels
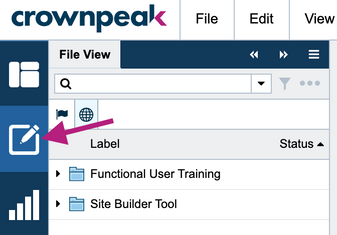
To get started adding new content to DXM, you'll work in the Content view.

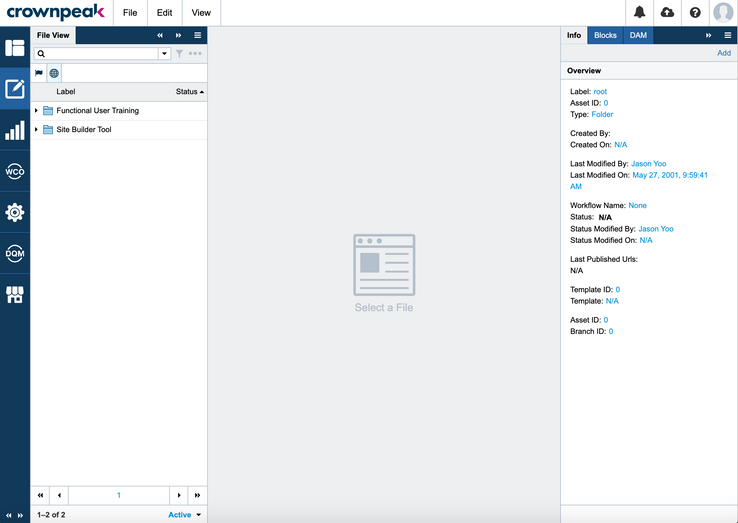
The Content view displays the File View panel, which contains all your site content, and other moveable panels that you can arrange however you want. DXM will "remember" your arrangement preferences upon subsequent logins.

Note: We recommend keeping at least the Info panel open while working to get started.
Dockable panels
DXM has multiple panels that you can refer to while editing content. These panels display information about your site content and allow you to quickly perform an action in DXM.
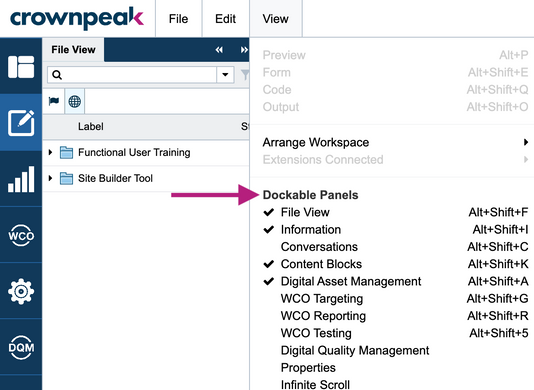
The Dockable panels are located in the View menu.

- File View - the central management location for all your documents, media, and more
- Information - information related to the selected asset
- Conversations - provides the opportunity to leave comments on an asset, which can be read/answered by others
- Content Blocks - delivers powerful development abilities such as component libraries, layouts, and integration capabilities
- Digital Asset Management - delivers a visually friendly way for users to sort and find media quickly
- WCO Targeting - preview the different combinations of dynamic content based on the selected targeting group
- WCO Reporting - add customized reports related to the content being viewed
- WCO Testing - add customized testing related to the content being viewed
- Digital Quality Management - visually friendly way to sort and find media quickly
- Properties - extended information and abilities related to the selected asset
Opening a panel
To open a panel, click View | Dockable Panels [panel]. The panel appears next to the File View by default.

Rearranging a panel
- To re-arrange a panel, hover over the panel tab until the hand icon appears.
- Click and drag the panel tab into the area of the screen that appears where you wish to place the panel. For example, we want to place the panel in the right column.
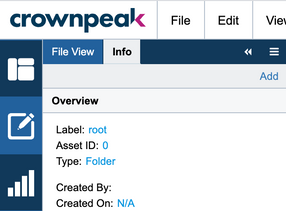
Click and drag Info panel to the right
The panel appears to the right of your Content view space. You're now ready to start working with assets.Moved Info panel
Closing a panel
You can close an open panel a couple of ways:
- From the hamburger menu at the top right of each panel, select Close Tab to close the opened panel, or Close All Tabs to close all opened tabs.
Hamburger menu
- From the View | Dockable Panels menu, click on any opened panel to close it. (Opened panels are indicated by a checkmark next to them.)
Checkmark next to opened panel
Setting DXM preferences
You can set certain preferences in DXM from your user profile. There are a few settings to manage, but when first setting up DXM, we recommend verifying your Localization and Initial View settings, which are the most important to help you get up and running.
To access the Edit Preferences:
- From the left menu, click the Settings icon.
Settings icon
- Navigate to Account > Edit Preferences.
- Verify your Localization - Language an Initial View settings:
Edit preferences
For more information on the various editing modes, see Editing an asset in DXM.