User scenario
You're a marketer who needs to add a collection of related images to include in your upcoming promotional materials. Using DXM, you upload 5 images and insert them into each of your web pages.
Uploading an image
Images are one kind of asset in DXM and you can upload them just like you'd create a new asset. There are two primary ways to add a new image to DXM.
- From the File View, right-click on the folder you wish to add the image to, go to new and select an appropriate model to create your content from.
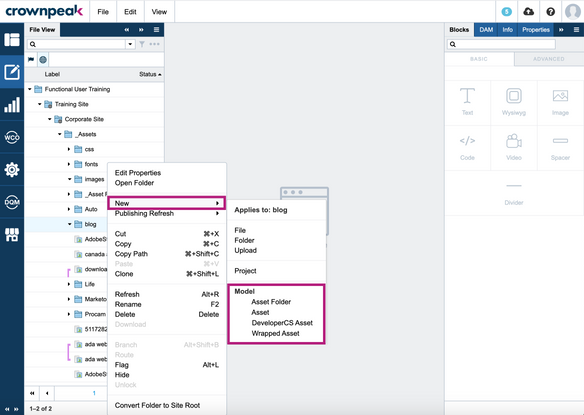 Right-click to add a new image
Note: Most DXM environments contain designated image folders where images are stored.
- From the File View folder you wish to add an image to, click on File in the top menu, and select the image model to create your content from.
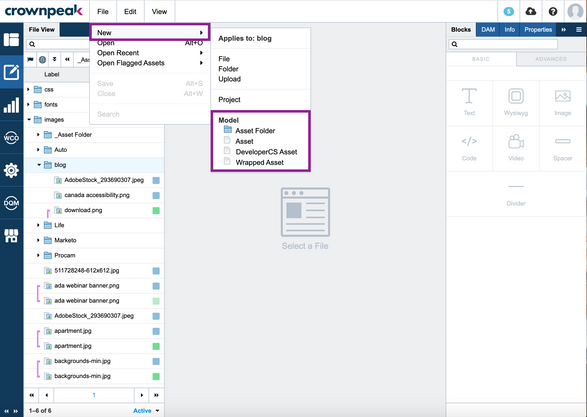 File New to add image
Note: We recommend using a model for images while adding new images.
Editing an image
DXM provides you with a basic editor where you can make simple edits, such as adding text, cropping the image, and inserting shapes. We recommend you use a more robust image editor if you need to make more complex edits.
- To open the image editor, double-click the image. The image editor opens with various editing actions for use in the top menu:
Cropping - You can create custom crop sizes, or predefined aspect ratios, such as square, 3:2, 4:3, 5:4, 7:5, 16:9
Flip - Flip along the X axis (Left/Right), or the Y Axis (Up/Down)
Rotate - rotate 30 degrees at a time, or custom amounts in the slider bar
Draw - Draw either freehand or straight lines. You can customize the color with entering a hex color code, or choose from the few colors offered
Shape - Create basic shapes (circle, rectangle, triangle) and choose the fill color and stroke weight required
Icon - Place icons such as arrows, location markers, speech bubbles, or upload a custom icon to be placed over an image
Text - Insert basic text overlay. You can create a text box and place anywhere on an image with bold, italic, underline, or change the size of your text
Mask - Superimpose another image over your original
Filter - Choose from predefined image filters, or adjust the brightness, noise, transparency, etc.
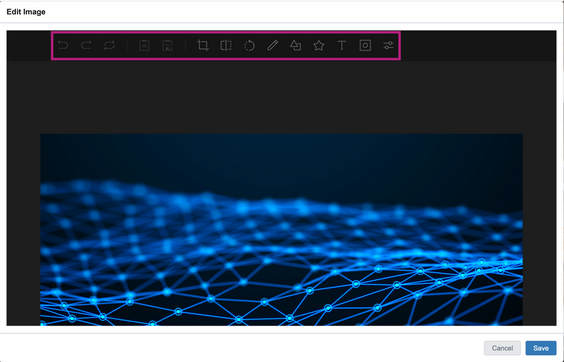 Image Editor
- Make edits as desired.
- Click Save when finished.
Editing metadata
To add metadata to an image:
- Right-click the image from the File View.
- From the DAM panel, enter a description in the Title, Keywords, Description fields.
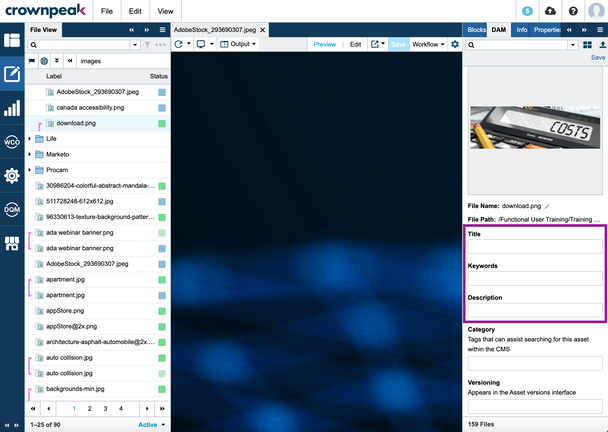 Edit image metadata
Publishing an image
Once you've uploaded an image to DXM, you need to publish it to the same workflow state in which you wish it to appear. For example, if you've uploaded an image to include in a blog post you've created, you'll need that image to be published to the same workflow state as the blog post.
See Publishing content in DXM to learn more about publishing.
To publish an image
- From the File View, locate the image you wish to publish.
- From the opened image, click the Workflow drop-down.
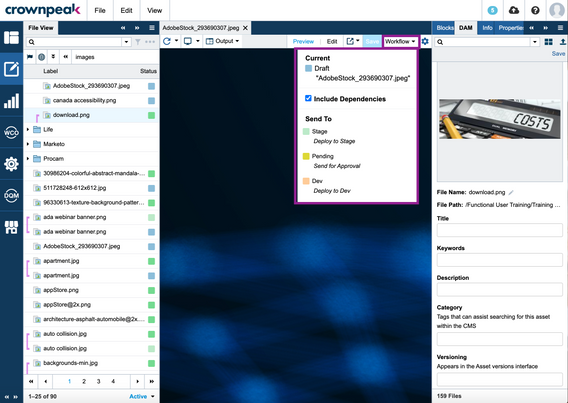 Workflow drop-down
- Select the next available stage in your workflow to publish your image to that environment. Depending on your DXM set up, you may be able to publish your image directly to Live/production.
- Ensure that the image is viewable in the workflow state you just published it to. You can confirm this by clicking the Last Published Urls drop-down and selecting that workflow state to view the image.
 Last Published Urls drop-down
Adding an image to content
To add an image to content in DXM:
- Open the asset from the File View.
- You have a few options to add an image to content depending on the asset and the view you’re looking at:
- Form view - From the Form view, click the Insert/edit image icon and navigate to the image.
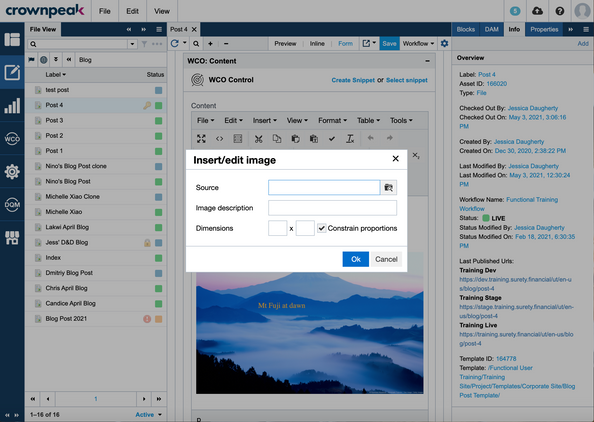 Insert image view Form View
- Inline view -From the Inline view, click the Insert/edit image icon and navigate to the image.
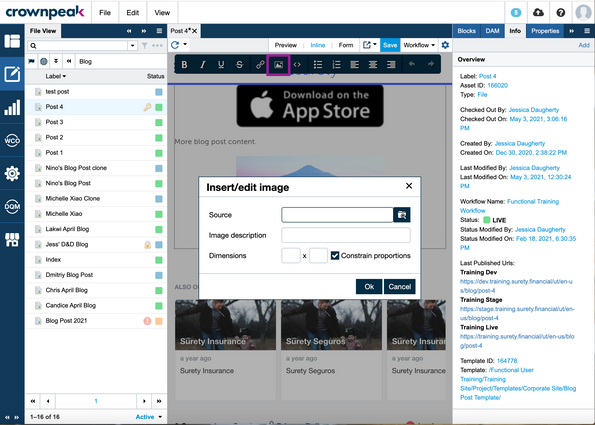 Insert image via Inline View
- DAM panel – From the DAM panel, drag and drop the image from the panel into your content. Note that only assets that enable the drag and drop feature allow this action.
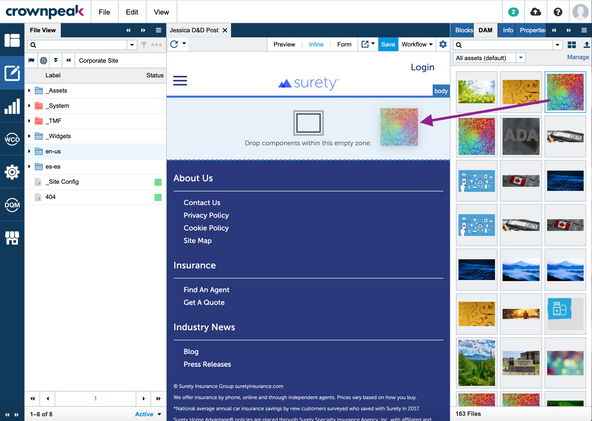 Insert image via DAM panel
Using the Digital Asset Management (DAM) panel
The Digital Asset Management (DAM) panel displays image assets by collection and dynamically changes based on where you are navigated to in the File View. For example, if you’re inside a designated images folder in the File View, the DAM panel only displays the images present in that folder.
 DAM Panel
Note that only assets that enable the drag and drop feature allow you to move images from the DAM panel into your content.
Organizing images using a collection
You can organize already uploaded images in DXM by creating a collection. A collection is a group of images in DXM that you can easily access from the DAM panel and is convenient when you want to work with only a specific set of images.
Creating a collection:
- From the DAM panel, click Manage.
- Click New Collection.
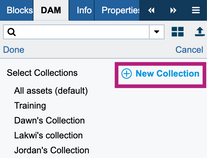 New collection
- Type a name for the new collection and click the green checkmark.
- The newly created collection lives in the collection drop-down.
Adding images to a collection:
- From the DAM panel collection drop-down, click Manage.
- Select images to add to your collection by ticking the boxes of each image.
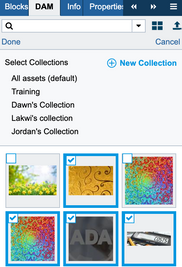 Add images to collection
- When finished, find the collection you wish to add images to from the list above. You may need to scroll through the list to view all collections. The selected images will be included in your collection.
Deleting a collection:
- From the DAM panel, click Manage.
- Locate the collection, hover over it, and click the x icon.
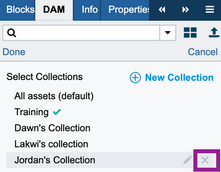 Delete collection
This will delete the collection from DXM. Note that deleting a collection will not delete the images in that collection only the collection itself.


